The loading day decides how a kitchenware container arrives: check the container before loading, follow a written loading plan, mark every carton, and protect the load from moisture. Each step is simple and each one is regularly skipped – and skipped steps show up at destination as crushed cartons, mixed-up SKUs and rusty pans.
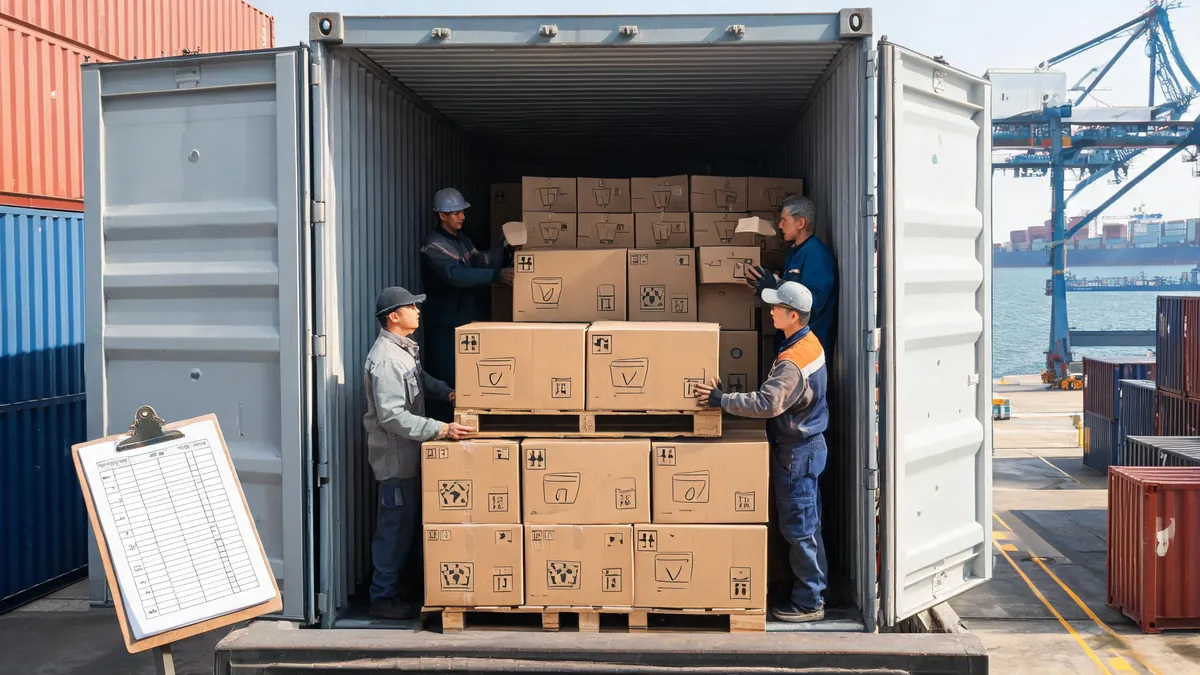
- Interior inspection – look for holes, moisture, stains and strong odors; a damaged or smelly container ruins the cargo.
- Floor condition – check for nails, splinters and damp patches before the first carton goes in.
- Door seals – confirm the rubber seals are intact so the container stays dry at sea.
- Ventilation – note whether the container has vents and whether the cargo needs them closed.
Take photos of the empty container before loading. If the container is rejected, the photos document why; if it is accepted, the photos establish its condition at origin.

- Loading sequence – heavy cartons at the bottom, lighter ones on top, and the loading order that keeps the load stable.
- Weight distribution – spread the weight across the floor, not concentrated in one area.
- Blocking and bracing – confirm how the load is secured against movement in transit.
- Last-in, first-out – arrange the load so the first-delivery items are accessible at destination if the container is partially unpacked.
Shipping marks and labeling
- Carton marks – shipping marks, carton numbers and SKU codes on every carton, matching the packing list.
- Handling labels – fragile, this-side-up and stacking-limit labels where the product needs them.
- Barcode placement – barcodes on a flat, scannable surface, not across a seam.
- Mixed SKUs – different SKUs in one carton should be marked clearly; the destination warehouse sorts by these marks.
Moisture and cargo protection
- Desiccants – moisture-absorbing packs in cartons and along the container walls for high-humidity routes.
- Carton quality – the carton strength must match the stacking height; weak cartons crush at the bottom of a full load.
- Inner wrapping – protective wrapping for coated or polished surfaces that stain or scratch.
- Container sealing – door seals and any openings closed before departure to reduce moisture ingress.
Photos and the loading report
| Step | What to capture | Purpose |
|---|---|---|
| Empty container | Interior, floor, door seals | Origin condition evidence |
| Loading | Sequence, blocking, bracing | Loading plan followed |
| Loaded container | Final view before doors close | Load stability |
| Door seals | Seal numbers and condition | Tamper evidence |
A loading report with photos protects both sides: the factory proves the load left in good condition, and you have the evidence to compare when the container arrives.
Choosing the container size and load density
Match the container to the actual carton volume, not to the order size in pieces. A 20-foot container holds a different number of cartons than a 40-foot one depending on carton dimensions and stacking. Ask the factory or forwarder for a loading calculation before the container is booked, and confirm the utilization – a half-empty container costs the same freight as a full one. If the volume is close to a size boundary, the loading plan decides which container you need.
What to do if the container is rejected
If the container fails the interior check, reject it and ask the shipping line for another. A rejected container costs a day; a damaged load costs a claim. Record the rejection with photos, note the container number, and confirm the replacement before the loading crew stands down. The same rule applies at destination: if the container arrives damaged, photograph the exterior before the doors open.
- Confirm who books the replacement container – the forwarder usually handles it.
- Update the loading plan if the replacement arrives later in the day.
- Keep the rejection photos in the shipment file.
FAQ
Should I inspect the container before loading?
Yes – always. Container condition issues are the most common source of in-transit damage that is not the cargo’s fault. A short interior check with photos takes minutes and prevents costly claims.
What are shipping marks for?
Shipping marks identify each carton’s destination, SKU and carton number. They are what the packing list references and what the destination warehouse sorts by, so they must match the packing list exactly.
How do I protect kitchenware from moisture in transit?
Use desiccants, strong cartons, inner wrapping for sensitive surfaces, and check the container is dry and sealed. High-humidity routes need more protection than temperate ones.
Who is responsible if the load shifts in transit?
The loading party is usually responsible for a proper loading plan and securing, and the forwarder for handling during transit. Loading photos showing correct blocking and bracing establish where the responsibility sits.
Want the loading plan and marks checked before your kitchenware container ships?
Ask KitchenWareSourcingRelated reading: kitchenware QC checklist for container loading · baking tray export carton pack counts